Engineer the perfect light spectrum for optimal plant growth. Boost your yields and cultivate year-round with our energy-efficient LED solutions. Tell us your needs for a customized lighting strategy and quote.
If your houseplants look “stuck” (slow growth, long leggy stems, pale leaves, or no new shoots), the problem is often not fertilizer—it’s light. A house plant LED grow light is the easiest way to give plants consistent, plant-usable light when windows are weak, days are short, or your space simply doesn’t get enough sun. The good news is that you don’t need a greenhouse, special equipment, or complicated math to get great results.
This beginner-friendly guide will walk you through choosing, placing, and scheduling a house plant LED grow light in a simple, repeatable way. You’ll learn the few light concepts that actually matter, how to avoid common mistakes, and how to build a routine your plants can follow every day.
Indoor light is almost always weaker than you think, even in bright rooms. Window glass reduces intensity, light drops quickly with distance, and many homes only get strong sun for a short part of the day. That’s why plants that look fine at the store can slowly decline over months in a new home.
A house plant LED grow light works because it gives plants predictable light at the leaf level, not just “brightness” to your eyes. Unlike moving the plant around all day or hoping the weather cooperates, an LED setup stays consistent. That consistency is what allows a plant to photosynthesize steadily and maintain healthy leaf size, color, and growth speed. extension.umd.edu
Light is energy for plant growth, not decoration
Plants use light to power photosynthesis, which is how they produce sugars for new leaves, roots, and stems. When light is too low, plants stretch toward it and sacrifice thickness, leaf size, and color in the process. If the light stays low long enough, the plant runs out of “energy budget” and begins dropping leaves.
The main goal of a house plant LED grow light is not to “make a room brighter.” The goal is to deliver enough usable light to the plant canopy for enough hours per day that the plant can maintain itself and (ideally) grow.
Why LED grow lights are beginner-friendly
LEDs are practical for indoor plant setups because they are efficient, long-lasting, and easy to position. The U.S. Department of Energy notes that residential LEDs (especially ENERGY STAR products) use significantly less energy than older lighting technologies and last much longer, which is exactly what you want for a light that runs daily. You can learn more from the DOE’s overview of LED lighting. The Department of Energy’s Energy.gov
LED fixtures also come in many form factors—bulbs, panels, bars, and clip lights—so you can match the light to your shelf, desk, plant stand, or small indoor garden. The “best” fixture is the one that fits your space and is easy enough that you actually use it every day.
The only light terms you need (in plain English)
Grow-light marketing can get confusing fast, so let’s simplify. For houseplants, there are three ideas that matter most: spectrum, intensity, and time. If you control those, your results improve quickly.
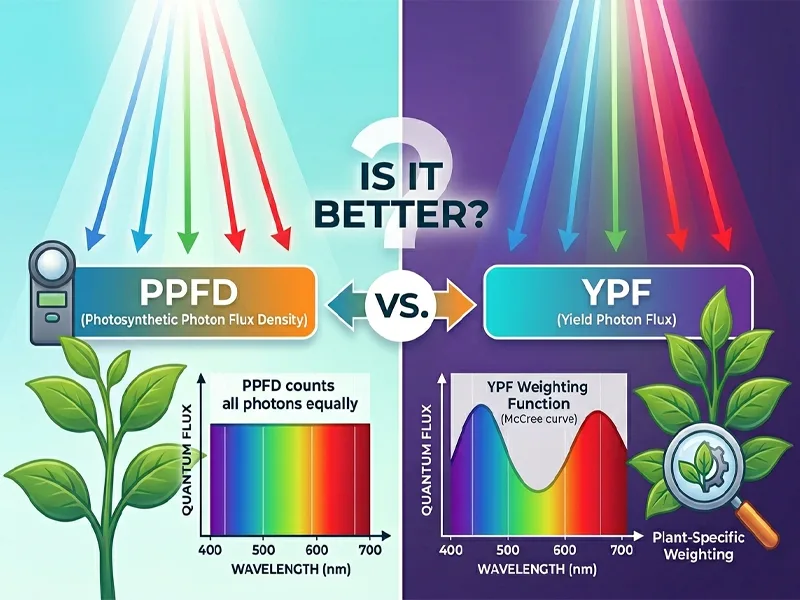
PAR: the range plants can use
Plants respond to a portion of light commonly referenced as PAR (photosynthetically active radiation), often described as the 400–700 nm waveband. The Illuminating Engineering Society provides a clear definition of PAR. Illuminating Engineering Society
You don’t need to obsess over every nanometer as a beginner. You just need to choose a grow light designed to deliver plant-usable light across that range rather than a decorative lamp.
PPFD: “how strong is the light at the leaves?”
PPFD tells you how much plant-usable light is actually reaching a surface (like the top leaves) each second. The Illuminating Engineering Society defines PPFD as photon quantity per unit time and area in the 400–700 nm band, typically expressed in μmol·s⁻¹·m⁻². Illuminating Engineering Society
Beginner takeaway: PPFD is affected by distance. Move the light closer and PPFD rises fast; move it farther away and PPFD drops fast. That’s why placement matters as much as the fixture itself.
DLI: “how much light your plant gets in a whole day”
DLI (daily light integral) is the total amount of plant-usable light a plant receives in a day. Michigan State University explains DLI in a friendly way in Daily light integral defined. canr.msu.edu
Beginner takeaway: You can often fix “not enough light” two ways—increase intensity (move the light closer or use a stronger fixture) or increase hours (longer daily schedule). Most beginners get great results by adjusting hours first, then fine-tuning distance.
Why lumens can mislead you
Lumens measure brightness as humans see it, not as plants “use” it. The University of Minnesota Extension notes that lumens are less relevant for plants because they don’t represent plant-important wavelengths very well. See their explanation in Lighting for indoor plants and starting seeds. University of Minnesota Extension
So if a product only talks about lumens and never mentions plant metrics (or at least that it’s designed for plant growth), treat it cautiously.
Choosing the right house plant LED grow light for your space
Don’t start by asking, “What is the best grow light?” Start by asking, “Where will it live, and what plants will it serve?” The best beginner setup is the one that fits your daily life.
Match the light to your plant category (low, medium, bright)
University extension resources often describe indoor plant light needs in simple categories. For example, the University of Arizona Cooperative Extension outlines indoor light intensity categories and reminds growers to match plants to locations. You can read more in Interior Plant Selection and Care. UA Cooperative Extension
Also, the University of Illinois Extension gives practical “low/medium/high” indoor guidance based on window placement and foot-candles in Lighting | Houseplants. Illinois Extension
Beginner-friendly rule:
Low-light tolerant foliage plants (many pothos, snake plants, ZZ plants) can survive in low light, but they usually look better with supplemental LED.
Medium-light plants (many philodendrons, monsteras, peperomias) often thrive with a daily grow-light routine.
Bright-light plants (succulents, many cacti, some herbs) usually need stronger intensity and/or closer placement.
Even “low light” plants still use light every day. A house plant LED grow light helps them keep tighter growth and better color, especially in winter.
Choose a fixture style that matches your layout
Different fixtures solve different problems. The key is to pick a form factor that makes correct placement easy.
Bulb-style (E26/E27) grow lights work well for single plants or small clusters. They fit desk lamps, floor lamps, and clamp lamps, which is convenient for beginners. The limitation is coverage—one bulb usually covers a small footprint unless it’s very high output.
Panel-style grow lights are great for a plant shelf or multiple pots in one area. They often provide more even coverage than a single bulb, which helps plants grow more uniformly.
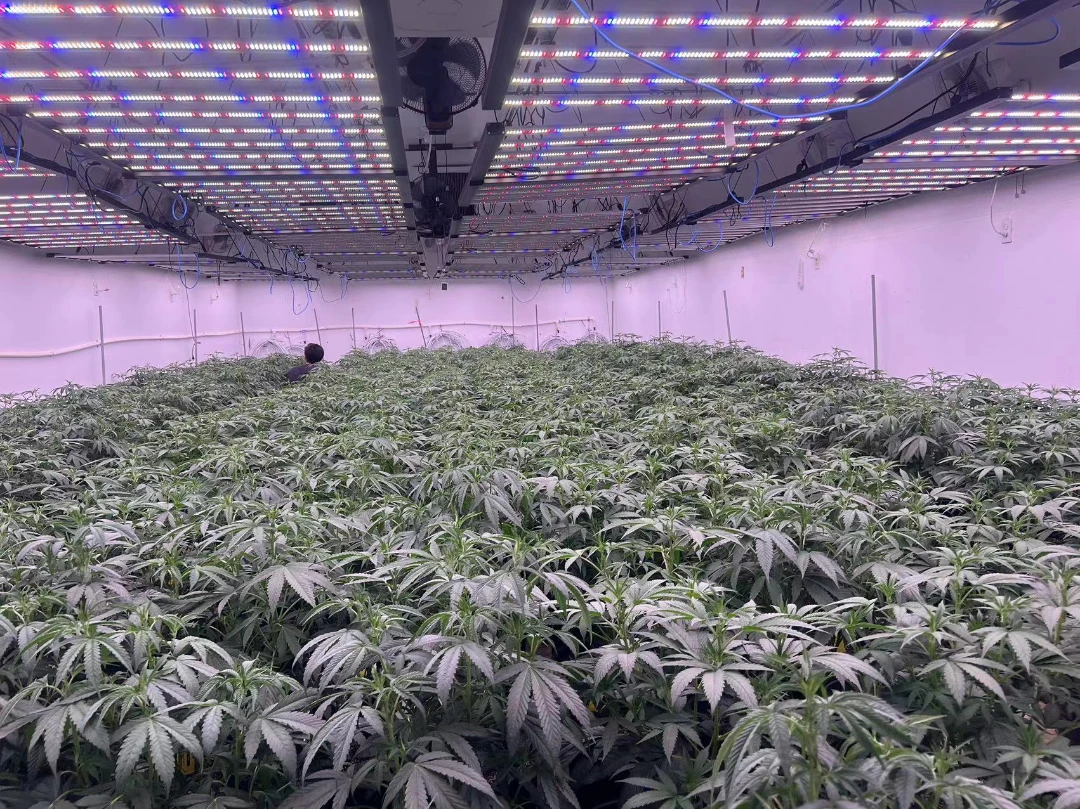
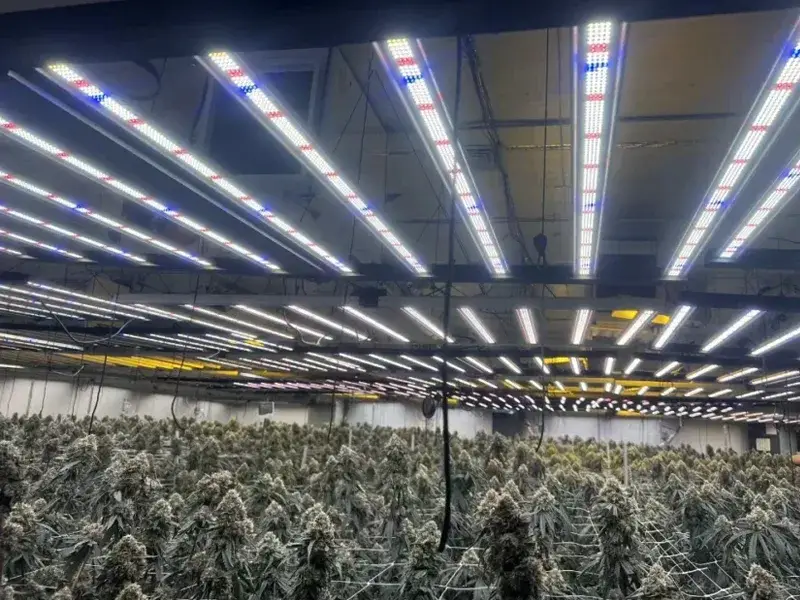
Bar-style grow lights are ideal for shelves and plant racks. Bars are especially beginner-friendly because you can mount them close to the plant canopy and spread light across a long area without hot spots.
A simple question to decide: do you need a “spotlight” for one plant, or a “ceiling” for a whole shelf?
Full spectrum vs “blurple” for beginners
Many beginners prefer full spectrum grow lights because the light looks more natural in a living space. A full spectrum house plant LED grow light can be used in bedrooms, offices, and living rooms without turning your home into a purple nightclub.
“Blurple” lights can still grow plants, but they are less visually comfortable for most homes. If you’re just starting out, choose comfort and consistency so you keep the light running daily.
Safety basics to look for
Because grow lights run for hours every day, basic safety matters. Look for stable drivers, solid heat management, and clear electrical ratings. Follow the manufacturer’s instructions, keep cords away from water, and use a surge protector if your power is unstable.
If you live in a humid environment, consider fixtures designed for damp areas or keep lights outside the direct mist zone. Safety is not the exciting part, but it’s what keeps your setup reliable.
Simple 20-minute setup (step-by-step)
This is a beginner routine you can repeat for almost any houseplant area. You can do it with a clamp lamp and grow bulb, a small panel, or shelf bars.
Step 1: Pick a “plant zone” you can keep consistent
Choose one area where plants naturally live: a shelf, a stand, a corner near a window, or a countertop. Consistency is easier when plants don’t move constantly.
If you place your house plant LED grow light in a spot where you already walk by daily, you’ll notice problems early (like leaves leaning, drying out, or light being blocked).
Step 2: Position the light and start with a safe distance
Distance controls intensity more than most beginners realize. Start with the light far enough that you won’t scorch leaves, then move it closer gradually over a week.
A practical starting point for many houseplant fixtures is 12–18 inches (30–45 cm) from the top leaves for foliage plants, and 6–12 inches (15–30 cm) for higher-light plants if the fixture is not overly powerful. Your exact distance depends on fixture output, beam angle, and plant tolerance, so use the plant’s response as feedback rather than forcing a single “perfect” number.
Step 3: Set a timer (this is the secret weapon)
A timer turns beginner grow lighting from “random” into “reliable.” The plant doesn’t care if you’re busy; it cares that the light comes on and off consistently.
Start with 10–12 hours per day for most foliage houseplants. If you’re supplementing weak window light, you can run the grow light during morning and evening, or simply use a single continuous block that matches your daily schedule.
Step 4: Aim for even coverage, not just brightness
Try to position the light so it hits the whole plant canopy instead of blasting one side. Rotate pots once a week if one side grows faster.
If you’re lighting multiple pots, keep the canopy height as even as possible. You can raise shorter plants on upside-down trays or sturdy risers so everyone sits in a similar “light zone.”
Step 5: Adjust watering expectations
More light usually increases growth and water use. If your plant begins pushing new leaves faster under a house plant LED grow light, it may dry out sooner than before.
At the same time, don’t assume “more water is always better.” Increased light improves growth, but overwatering is still the fastest way to stress roots. Check soil moisture and let the plant guide you.
Easy schedules that work for most beginners
You don’t need a “professional grow schedule” for houseplants. You need a schedule you can stick to.
A simple starter schedule for foliage plants
For pothos, philodendron, monstera, peace lily, spider plant, and many common indoor foliage plants, a good beginner schedule is 10–12 hours per day.
If your room is very dark (north window, deep interior space, winter season), you can increase to 12–14 hours per day. Keep changes gradual, because sudden big jumps can stress leaves that adapted to low light.
A stronger schedule for bright-light plants (succulents, cacti, herbs)
Bright-light plants typically prefer either higher intensity, longer duration, or both. Many beginners find success with 12–14 hours plus a closer distance, as long as the plant doesn’t show bleaching or crispy spots.
If a succulent stretches (long gaps between leaves, leaning, pale tone), that’s a sign it wants more light. Increase light slowly by moving the fixture closer or adding an hour per day.
“Can I run grow lights 24/7?”
Most houseplants do better with a dark period. Darkness is not “wasted time”—plants use it for normal metabolic rhythms.
If you want to push growth, extend hours gradually, but keep at least 8–10 hours of darkness as a beginner default. This also keeps your electrical cost predictable.
How to tell if your grow light is too strong or too weak
Instead of guessing, watch what the plant does over 1–2 weeks. Houseplants give clear feedback when you know what to look for.
Signs your house plant LED grow light is too weak
If the light is too weak (or too far away), you may see slow or stalled growth, leaning toward the light, and long spacing between new leaves. Leaf size may shrink over time, and variegated plants may lose contrast. These are classic “insufficient light” signals.
If this happens, either move the light closer or add 1–2 hours per day. Make only one change at a time so you can see what helped.
Signs your house plant LED grow light is too strong
Too much intensity often shows up as pale patches, bleached areas, or leaves that curl up and feel dry at the edges. Some plants will also show a “taco” shape where leaves cup upward to reduce light exposure.
If you see these signs, back the light away a few inches or reduce hours slightly. Then hold steady for a week before changing again.
Why distance changes matter so much
Light intensity drops rapidly as distance increases, which is why even a good grow light can fail if it’s too far from the canopy. University of Maryland Extension highlights how light intensity depends on distance and decreases as you move away from the source. You can read their explanation in Lighting Indoor Plants. extension.umd.edu
That’s also why a small bar light close to the leaves can outperform a stronger bulb placed too far away. The “best” setup is often the one that gets the light into the correct position.
Practical examples for common houseplants
These examples give you a starting point. Your room conditions and fixture output will matter, so treat them as guidance, not strict rules.
Pothos, philodendron, and most leafy tropicals
These plants usually respond well to a house plant LED grow light because they can photosynthesize efficiently at moderate indoor intensities. Start them at a moderate distance with a 10–12 hour schedule and watch for tighter growth and improved leaf color.
If they’re currently very low light, you may see a “recovery phase” where new leaves look better than old leaves. That’s normal, and it’s a good sign that the light is finally supporting the plant.
Monstera and larger foliage plants
Monsteras often get leggy indoors because the light is strong near the window but weak deeper in the room. A grow light can help them develop larger leaves and shorter spacing, especially if you aim the light from above rather than from the side.
Keep the canopy evenly lit. If the light only hits one side, you’ll get lopsided growth and constant leaning.
Orchids (especially Phalaenopsis)
Orchids often prefer bright, indirect light rather than intense direct blasting. A grow light can work well if you keep distance reasonable and avoid overheating leaves.
If orchid leaves become very dark green with no bloom spikes, they may want a bit more light. Increase the daily hours modestly before moving the light much closer.
Succulents and cacti
Succulents are the classic case where houseplant lighting goes wrong. They often look fine for a few weeks, then stretch slowly and never recover their compact shape.
For succulents, keep the light closer and ensure long enough daily hours. If you can’t mount a light close above them, consider a stronger fixture designed for higher PPFD at short distances.
Kitchen herbs (basil, mint, small greens)
Herbs are edible, fast-growing, and they love consistent light. A house plant LED grow light in the kitchen can keep herbs productive even in winter, especially if the light is directly above the canopy.
Because herbs grow quickly, they will show you whether your setup is working within 7–14 days. If leaves become small and stems stretch, increase intensity or hours.
Common beginner mistakes (and how to fix them fast)
Most grow-light “failures” are not because the light is bad. They are usually because the setup is inconsistent or positioned incorrectly.
Mistake 1: Putting the light too far away
This is the #1 issue. People mount a light high to “cover everything,” but the plants receive weak intensity at the leaves.
Fix it by lowering the light closer to the canopy and narrowing the footprint to the plants that actually need it. If you have more plants than the light can cover, it’s better to light fewer plants well than many plants poorly.
Mistake 2: No timer, so the schedule is random
Plants prefer predictable cycles. If your light runs 3 hours one day and 14 hours the next, the plant never stabilizes.
Fix it with a basic plug-in timer or a smart plug. Set it once and forget it, then let the plant do its thing.
Mistake 3: Trying to “water the light into the plant”
When plants are light-starved, people often overwater because the plant looks sad. But low light reduces water use, so wet soil stays wet and roots suffer.
Fix it by improving light first, then watching how the plant’s water needs change as it grows. Increased light usually increases water use, but only after growth resumes.
Mistake 4: Expecting instant results
Some plants respond quickly, but many houseplants show improvement gradually. New leaves often look better than old leaves because they formed under better conditions.
Fix it by judging success based on new growth after 2–6 weeks, not on old leaves that developed under poor light. Consistency is the real “growth hack.”
Energy use: what it costs to run a grow light at home
A house plant LED grow light is usually affordable to run, especially compared with older lighting. LEDs are widely recognized as energy-efficient, and the DOE summarizes LED efficiency and benefits in LED Basics. The Department of Energy’s Energy.gov
To estimate cost, you only need watts, hours, and your electricity rate. Here’s a simple example using round numbers.
Simple cost example (easy math)
If you run a 100W grow light for 12 hours per day, that’s 1.2 kWh per day. Over 30 days, it’s 36 kWh.
Multiply by your electricity rate (for example, $0.20/kWh) and you get $7.20/month. If your fixture is smaller (like 20–40W shelf bars), the monthly cost drops a lot, while the plant response can still be excellent if distance is optimized.
Why “efficient light placement” saves more than buying a bigger light
If you mount a light too far away, you may buy a stronger fixture to compensate, which increases power use and heat. If you place the light correctly at the canopy, you often get better results with fewer watts.
This is why beginner setups using properly placed bars or panels often outperform messy “one big bulb across the room” setups. Good placement is the cheapest upgrade you can make.
Safety, comfort, and long-term reliability
Grow lights are home appliances, so treat them like any other electrical device. A safe setup is also a setup you’ll keep running consistently.
Eye comfort and room aesthetics
Full spectrum fixtures are usually more comfortable for living spaces than purple-heavy lights. If you work near your plants (desk plants, office shelf), choose a light that doesn’t cause glare.
If the fixture is bright in your line of sight, use a simple shade, reposition the angle, or mount the light slightly forward so it shines down onto leaves rather than into your eyes.
Heat and airflow
Most LEDs run cooler than older grow lights, but they still produce heat at the driver and heat sink. Give the fixture breathing room, don’t cover vents, and keep fabric away from the hottest surfaces.
If leaves feel warm to the touch directly under the fixture, increase distance slightly. A little heat is normal, but hot leaves often mean the light is too close or airflow is poor.
Cleaning and maintenance
Dust blocks light. Wipe the fixture surface occasionally with a dry or lightly damp cloth (with power off) so you keep output consistent over time.
Also check that clips, mounts, and hanging points are stable. A simple monthly check prevents accidents and keeps your plants safe.
Why SLTMAKS for your house plant LED grow light setup
A beginner grow-light setup should feel simple, stable, and “set-and-forget.” That’s the philosophy we design around at SLTMAKS—helping indoor growers get consistent results without complicated equipment.
A good house plant LED grow light product line should focus on practical things beginners actually need: comfortable spectrum options for home environments, stable drivers for long daily runtimes, and fixture shapes that make correct placement easy (bulbs for single plants, bars for shelves, panels for multi-pot coverage). When choosing any brand, look for clear specifications, realistic coverage guidance, and honest usage instructions that prioritize plant response over marketing buzzwords.
If you’re building your first indoor plant zone, start small and upgrade based on what you learn. Once you see how strongly plants respond to consistent light, expanding your setup becomes straightforward.
FAQ: quick answers beginners ask all the time
How long should I keep a house plant LED grow light on each day?
Most beginners do best with 10–12 hours for common foliage houseplants. If your space is very dim, 12–14 hours is often effective, especially in winter. pubs.ext.vt.edu
Do grow lights replace sunlight completely?
They can, depending on the fixture and how you use it, but many people use them as a supplement. Even supplementing weak winter light can make a big difference in plant stability and growth. If you want to grow plants in a room with almost no daylight, prioritize correct distance and longer daily hours. Consistency matters more than perfection.
Can I use a regular LED bulb instead of a grow light?
A regular LED bulb can help a little, but it’s not optimized for plant lighting. University resources emphasize that plant lighting is not the same as human lighting, and metrics like lumens don’t tell the whole story for plant growth. University of Minnesota Extension If you want predictable results, a true house plant LED grow light is the safer choice.
My plant is leaning toward the grow light—good or bad?
A slight lean can happen, but strong leaning usually means the plant wants more even coverage. Reposition the fixture overhead, or rotate the pot weekly so growth stays balanced.
What’s the fastest way to improve results without buying new gear?
Add a timer and lower the light closer (safely). Those two changes fix most beginner setups immediately.