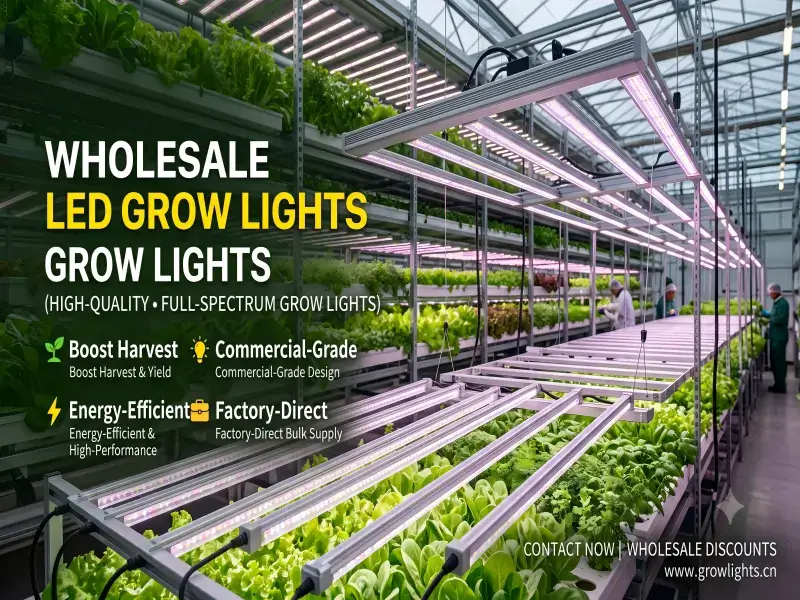
As the Editor-in-Chief here at SLTMAKS, and having spent years on the factory floor and in the R&D labs developing high-performance LED grow lights, I have seen one issue ruin more harvests than pests or nutrient deficiencies combined: improper hanging height. You can invest in the most expensive, high-PPFD fixture on the market, but if you do not master the art of the led grow light distance from plant, you are essentially driving a Ferrari with the handbrake on—or worse, crashing it entirely.
Finding that “Goldilocks zone”—where the light is close enough to fuel explosive photosynthesis but far enough to prevent photo-bleaching—is the single most critical variable in your indoor garden setup. Through my years of testing spectral outputs and analyzing PAR maps, I have learned that distance is not a static number; it is a dynamic relationship that changes as your plants mature. In this comprehensive guide, we are going to dive deep into the science and practical application of hanging heights to ensure your canopy thrives without burning or stretching.
Table of Contents
The Science of Light Intensity: Why Distance Matters

To understand why we can’t just hang a light anywhere, we must first understand what the plant actually “sees.” Humans perceive light in lumens, which essentially measures brightness based on the sensitivity of the human eye. However, plants do not care about lumens; they care about PAR (Photosynthetically Active Radiation) and PPFD (Photosynthetic Photon Flux Density).
When we talk about the led grow light distance from plant, we are really talking about manipulating the intensity of photons hitting the leaf surface. There is a fundamental principle in physics known as the Inverse Square Law. This law states that the intensity of light is inversely proportional to the square of the distance from the source. In simpler terms, if you double the distance between your LED and your canopy, your plants don’t just get half the light—they get one-quarter of the light.
This physical reality means that small adjustments in height can result in massive fluctuations in the energy your plants receive. If you move your light just a few inches closer, the PPFD can spike dramatically. While LEDs run much cooler than traditional HPS or MH lamps, they are still capable of delivering “photon burn.” This occurs when the chloroplasts in the leaves are overwhelmed by more light energy than they can process, leading to toxic byproducts that bleach the leaves white. Conversely, if the light is too far, the plant perceives a lack of resources and triggers a survival mechanism called etiolation, or “stretching,” where the stem elongates rapidly in a desperate search for light, resulting in weak, spindly plants that cannot support heavy buds.
The Variable Factors: It’s Not One Size Fits All
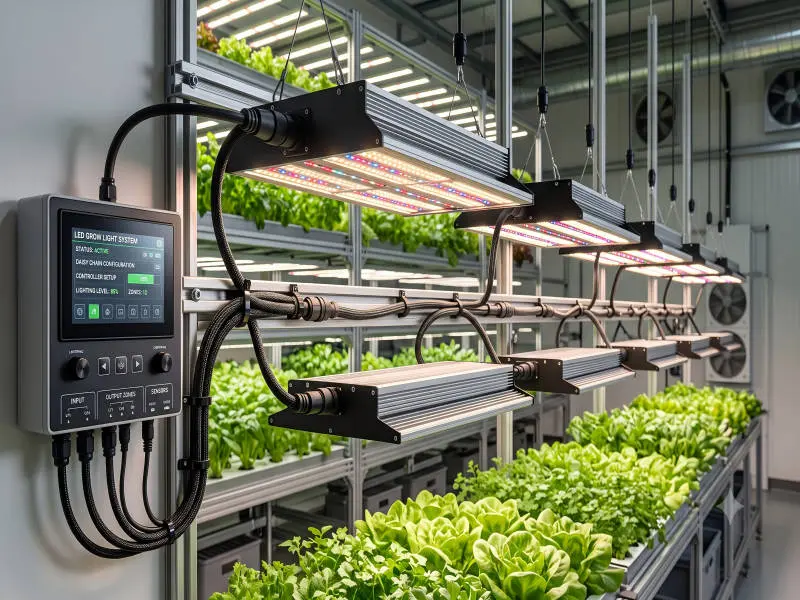
Before we get into specific measurements, it is crucial to acknowledge that not all LED grow lights are created equal. In my time at SLTMAKS, we have engineered everything from compact 100W boards for seedlings to massive 1000W bar-style commercial fixtures. The ideal distance for one is often disastrous for the other.
The Impact of Wattage and Build Style
The raw power of your fixture determines your baseline hanging height. A 200W LED fixture creates a much smaller “cone” of high-intensity light compared to a 650W fixture. Furthermore, the form factor matters significantly.
- Quantum Board/Panel Style: These concentrate diodes on a smaller surface area. They often create a “hotspot” directly in the center. These generally need to be hung higher to allow the light to spread evenly.
- Bar/Spider Style: These are what we often recommend for commercial setups at SLTMAKS. Because the diodes are spread out over bars, the light intensity is more uniform. This allows you to hang the lights closer to the canopy without burning the center plants, improving canopy penetration.
The Role of Beam Angle
The lens or reflector on your LED diodes also dictates the led grow light distance from plant. Most modern horticultural LEDs use a 120-degree beam angle, which provides a wide spread. However, some older or specialized models use 90-degree or 60-degree lenses. Tighter beam angles focus light intensely straight down, requiring much higher hanging heights to prevent laser-like burns on your foliage.
Optimal LED Grow Light Distance by Growth Stage

The nutritional needs of a plant change as it grows, and its appetite for light changes just as drastically. Treating a seedling with the same light intensity as a flowering plant is a recipe for failure. Below is the breakdown of distances based on my experience and industry standards.
The Seedling Stage: The Delicate Beginning
Seedlings and clones are like infants; they are incredibly fragile. At this stage, they are establishing their root systems and have very few leaves to process energy. If you blast them with high-intensity light, they will dry out, curl, and stunt. However, they do require a strong presence of blue spectrum light to prevent them from getting “leggy.”
For most full-spectrum LED grow lights, the recommended distance during the seedling stage is significantly higher than later stages. You generally want to aim for a PPFD of 200 to 400 µmol/m²/s.
- Low Wattage (<200W): Hang at 24-30 inches.
- Medium Wattage (200W-400W): Hang at 30-36 inches.
- High Wattage (600W+): Hang at 36-48 inches, or use the dimmer function (more on that later).
It is vital to monitor the seedlings daily. If they are falling over or growing tall with large gaps between leaf sets, lower the light by 2 inches and wait 24 hours.
The Vegetative Stage: Ramping Up Growth
Once your plant has established a healthy root ball and has developed 3-4 nodes of true leaves, it enters the vegetative stage. This is where the plant focuses on structural growth—stems, branches, and fan leaves. The plant’s metabolism accelerates, and it can handle—and indeed needs—more light energy to fuel this rapid expansion.
During vegetation, you want to increase the intensity to the range of 400 to 600 µmol/m²/s. If you are supplementing with CO2, you can push this even higher, but for most home growers, this range is safe.
- Low Wattage (<200W): Lower to 12-18 inches.
- Medium Wattage (200W-400W): Lower to 18-24 inches.
- High Wattage (600W+): Maintain 24-30 inches.
At this stage, the led grow light distance from plant is critical for shaping the plant. Keeping the light closer (without burning) encourages tighter internodal spacing, resulting in a bushier plant that will eventually hold more bud sites.
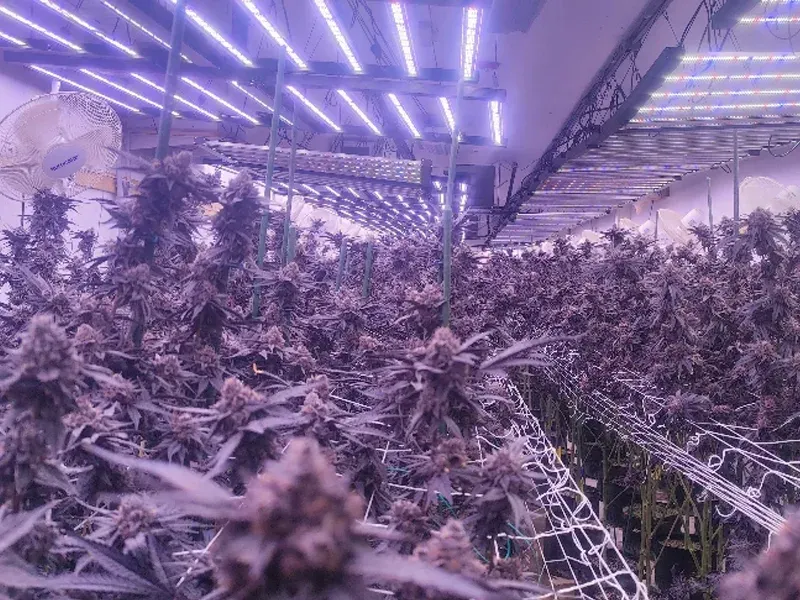
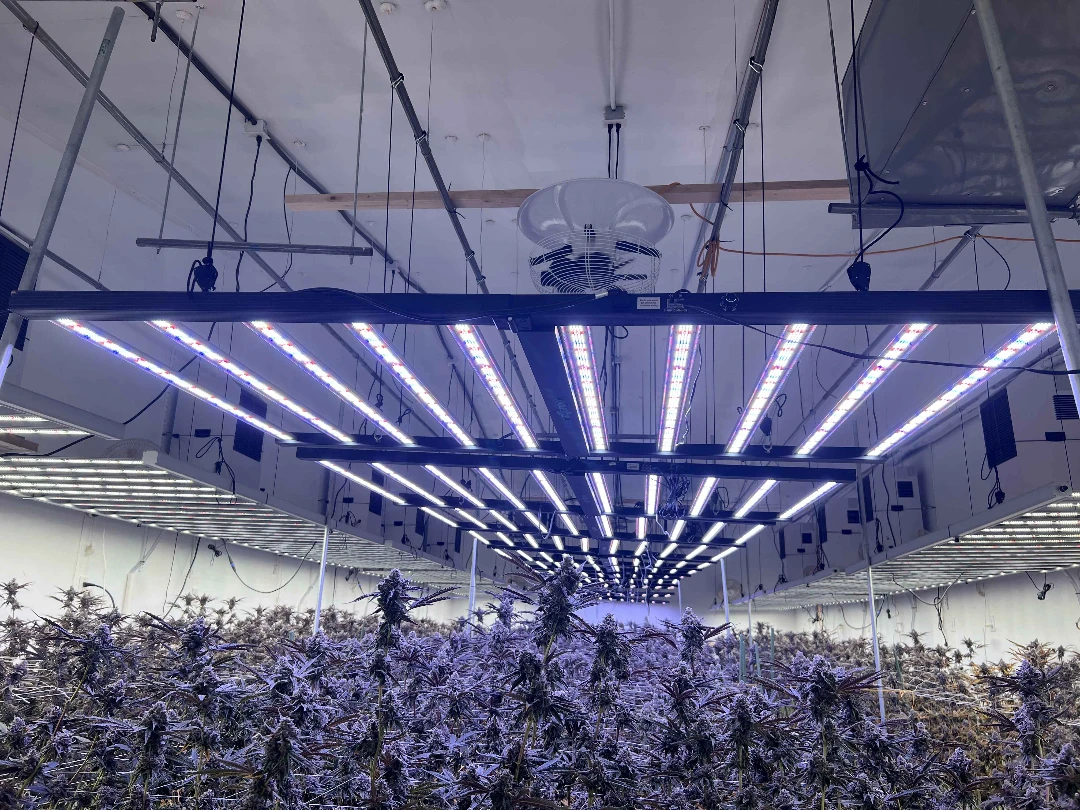
The Flowering Stage: Maximum Intensity
This is the main event. When you flip to the flowering stage (or when autoflowers begin to bloom), the plant’s energy requirements skyrocket. It needs massive amounts of energy to produce flowers, resin, and terpenes. This is where you want to deliver maximum PPFD, typically between 800 and 1000 µmol/m²/s (or up to 1500 with CO2).
You need to be aggressive but careful here. The goal is to get the light as close as possible to penetrate deep into the canopy without causing heat stress or light stress to the top colas.
- Low Wattage (<200W): 8-12 inches (Watch closely for heat).
- Medium Wattage (200W-400W): 12-18 inches.
- High Wattage (600W+): 18-24 inches.
During late flower (the last 2 weeks), some growers choose to raise the lights slightly to mimic the autumn sun and reduce stress as the plant ripens, ensuring the terpenes are preserved and not volatilized by excess heat.
Reference Table: Distance and PPFD Targets
To make this easier to visualize, I have compiled a reference table based on data we use at SLTMAKS for our standard fixture testing. Please note that “dimming” is often a better alternative to moving lights physically, which we will discuss shortly.
| Growth Stage | Target PPFD (µmol/m²/s) | Distance (200W – 400W Fixture) | Distance (600W+ Fixture) | Primary Goal |
| Seedling / Clone | 200 – 400 | 24″ – 32″ | 36″ – 48″ | Survival & Rooting |
| Early Veg | 400 – 500 | 20″ – 24″ | 30″ – 36″ | Leaf Expansion |
| Late Veg | 500 – 700 | 18″ – 20″ | 24″ – 30″ | Structural Integrity |
| Flowering | 800 – 1000 | 12″ – 18″ | 18″ – 24″ | Bud Production |
Reading Your Plants: Signs of Stress
Even with the best charts and PAR meters, your plants are the ultimate authority. They will tell you if the led grow light distance from plant is incorrect long before a meter does. As a grower, you must learn to read these biological signals.
Signs the Light is Too Close (Light Stress/Burn)
Many growers confuse light burn with nutrient burn. Here is how to tell the difference. Light stress primarily affects the upper leaves closest to the fixture, while the lower leaves remain green.
- Bleaching: The most obvious sign. The leaves turn white or pale yellow because the chlorophyll is being destroyed.
- Upward Curling (Canoeing): The serrated edges of the leaves curl upward like a taco shell. This is the plant trying to reduce its surface area to hide from the intense light.
- Crispy Tips: Unlike nutrient burn, which usually affects the very tip, light burn can make the edges of the upper leaves feel dry and crispy.
Signs the Light is Too Far (Etiolation)
If your light is too high, you are wasting electricity and compromising yield.
- Stretching: The stem between leaf nodes becomes very long. The plant looks “lanky.”
- Weak Stems: Because the plant is growing so fast vertically to find light, it fails to build cellulose thickness, leading to stems that may snap under the weight of future buds.
- Slow Growth: The plant simply doesn’t have the energy to produce new leaves rapidly.
The Dimmer Knob: A Modern Solution
In the early days of LED technology, fixtures ran at 100% power all the time. To adjust intensity, you had to physically raise or lower the light using ratchet hangers. This was tedious and often limited by the height of the grow tent.
Today, almost all quality fixtures, including the ones we manufacture at SLTMAKS, come equipped with dimmers (typically 0-10V dimming). I strongly advocate for using the dimmer rather than constantly adjusting height.
- Efficiency: Running a 600W light at 40% power is often more efficient and generates less heat than a 200W light running at 100%.
- Convenience: It is much easier to turn a knob than to re-adjust four different ratchet hangers and ensure the light is level.
My Recommended Strategy:
Hang your light at a fixed, safe height (e.g., 24 inches for a high-power bar light) and leave it there.
- Seedling: Set dimmer to 25%.
- Veg: Increase dimmer to 50-75%.
- Flower: Crank dimmer to 100%.This method ensures excellent spread and coverage while controlling intensity purely through wattage output.
Advanced Metrics: DLI (Daily Light Integral)
If you want to move from an amateur to a master grower, you need to look beyond just momentary brightness and consider DLI. DLI stands for Daily Light Integral. Think of PPFD (intensity) as the “rainfall rate” of light, and DLI as the total amount of “rain” collected in a bucket over 24 hours.
Your plants have a daily limit on how much light they can process. Once they hit their saturation point, extra light does not increase growth; it only adds stress and heat.
- The Formula: DLI combines the light intensity (PPFD) with the duration the light is on (Photoperiod).
- The Implication: If you run your lights for 18 hours (Veg), you need less intensity to hit the same DLI than if you run your lights for 12 hours (Flower).
This is why the led grow light distance from plant can technically be higher during the vegetative stage. Because the lights are on for longer (18/6 cycle), the plant accumulates a high DLI even with lower intensity. In flowering (12/12 cycle), you have a shorter window to deliver the necessary photons, which is why we must lower the lights to increase intensity. For deep dives into DLI calculation, resources like Purdue University’s Extension offer excellent calculators and academic data.
Measuring Light: Don’t Guess, Measure
One of the biggest mistakes I see beginners make is trusting their eyes. The human eye is incredibly adaptive. What looks “bright” to you might be pitch black to a plant, or conversely, what looks “okay” might be burning your crop.
PAR Meters (The Gold Standard)
If you can afford it, a dedicated PAR meter (like an Apogee Quantum Flux meter) is the best investment you can make. It measures the exact number of photons hitting a specific spot. You can map your entire footprint and find the perfect led grow light distance from plant to ensure corner-to-corner coverage.
Smartphone Apps (The Budget Option)
For home growers who cannot justify spending $500 on a meter, smartphone technology has come a long way. Apps like “Photone” utilize the camera sensor on your phone to estimate PPFD.
- Calibration is Key: You often need to make a “diffuser” out of standard white paper to place over the camera lens for accuracy.
- Reliability: While not 100% accurate compared to a lab sensor, they are usually within 10-15% accuracy, which is enough to prevent major errors. Using these apps allows you to verify if your 18-inch hang height is actually delivering the 800 PPFD the manufacturer promised.
Heat vs. Light: The LED Advantage and Danger

When I worked with High-Pressure Sodium (HPS) lights years ago, the “hand test” was the standard rule. You would put your hand at the canopy level; if it was too hot for your hand, it was too hot for the plant.
This rule does not apply to LEDs.
LEDs emit very little forward radiant heat. You can often put your hand 2 inches away from a powerful LED and not feel uncomfortable heat. However, the photon pressure at that distance is immense. This leads many growers to accidentally burn their plants because they think “cool temp = safe distance.”
Always remember: You are managing two types of burns.
- Thermal Burn: Caused by heat (Rare with LEDs unless touching the diodes).
- Photo-oxidative Burn: Caused by too much light energy (Common with LEDs).You must respect the distance recommendations even if the light feels cool to the touch.
Practical Tips for Hanging Your Lights
Setting up your grow room requires some mechanical foresight. Here are some practical tips from the installation side of things.
Use Adjustable Ratchet Hangers
Never use fixed chains or ropes. Always use adjustable rope ratchets (typically 1/8 inch). These allow you to adjust the height of the light with one hand. As your plants grow effectively, they will grow into the light. You will need to raise the lights every few days during the “stretch” period of early flowering.
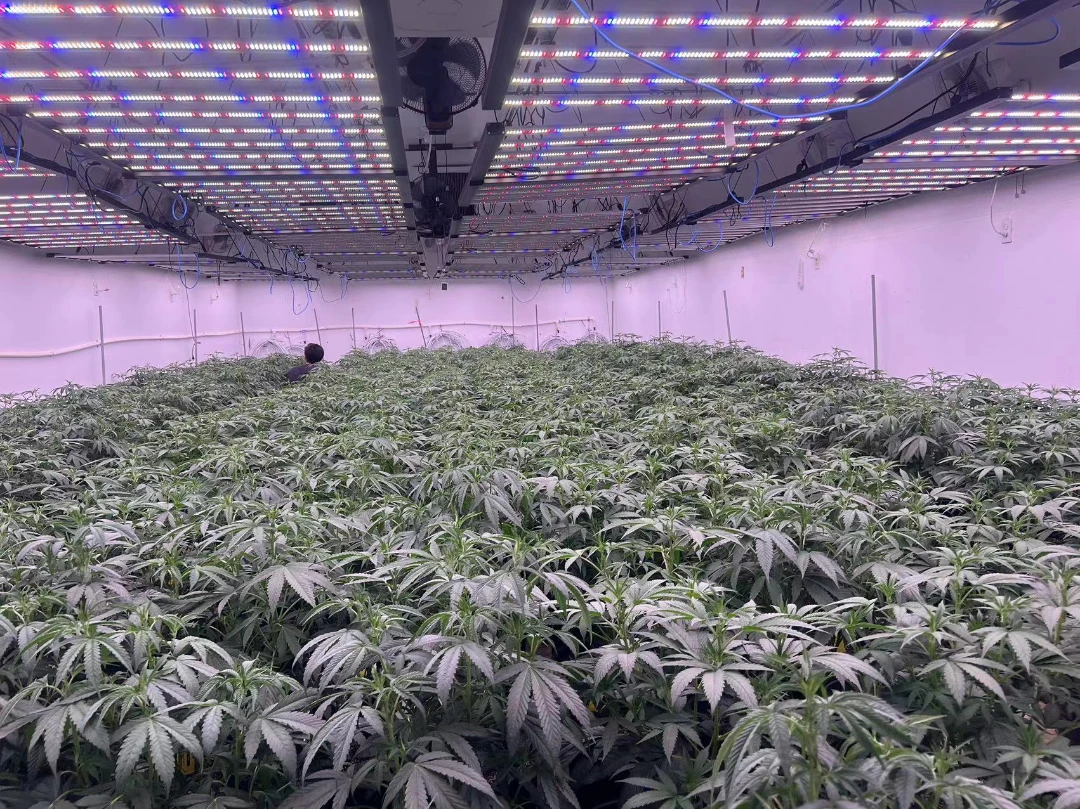
Consider Canopy Uniformity
If you have multiple plants, they rarely grow at the exact same speed. You will end up with an uneven canopy where some plants are 12 inches from the light and others are 18 inches.
- Solution: Use “risers” (upturned crates or pots) under the shorter plants to elevate them.
- Goal: Create an even, flat green sea of canopy so that the led grow light distance from plant is consistent for every bud site. This technique, often called SCROG (Screen of Green), is highly recommended for maximizing LED efficiency.
Overlapping Light Footprints
If you are running a larger operation with multiple lights, you can hang them slightly higher. The overlap from adjacent lights will compensate for the loss of intensity from the height. This is called “cross-lighting.” It improves penetration because light hits the plants from multiple angles, reducing shadows.
Common Myths About LED Distance
In the forums and social media groups, misinformation spreads fast. Let’s debunk a few myths I encounter regularly.
Myth 1: “Closer is always better for yield.”
Fact: There is a point of diminishing returns. Once a plant reaches its saturation point (around 1000-1200 PPFD for Cannabis without CO2), extra light actually decreases yield and quality because the plant stresses out trying to protect itself.
Myth 2: “Purple (Blurple) lights need the same distance as White lights.”
Fact: Older “Blurple” lights often lacked intensity and canopy penetration. You usually had to hang them very close. Modern full-spectrum white LEDs (like the ones we make) are much more powerful and efficient. Applying old Blurple habits to modern Quantum boards will result in bleached crops.
Myth 3: “LEDs can’t burn plants because they don’t produce heat.”
Fact: As discussed, photons carry energy. High energy causes chemical burns at the cellular level, independent of temperature.
Precision is the Key to Yield

Mastering the led grow light distance from plant is a journey, not a one-time setting. It requires observation, adjustment, and a willingness to listen to your plants. At SLTMAKS, we design our lights to be powerful tools, but like any tool, their effectiveness depends on how they are used.
By understanding the relationship between growth stages, PPFD, and hanging height, you are taking control of the primary energy source for your garden. Start with the recommended manufacturer distances, use a meter to verify intensity, and watch your leaves for the subtle signs of happiness or stress.
Remember, it is always better to start with the light too far away and slowly lower it than to start too close and permanently damage a seedling in the first 24 hours. Patience and precision will yield the heavy, resinous harvests you are looking for.
If you have questions about specific SLTMAKS models and their PAR maps, check our product pages for detailed charts, or reach out to our support team. We are growers helping growers, and we want to see your garden succeed.